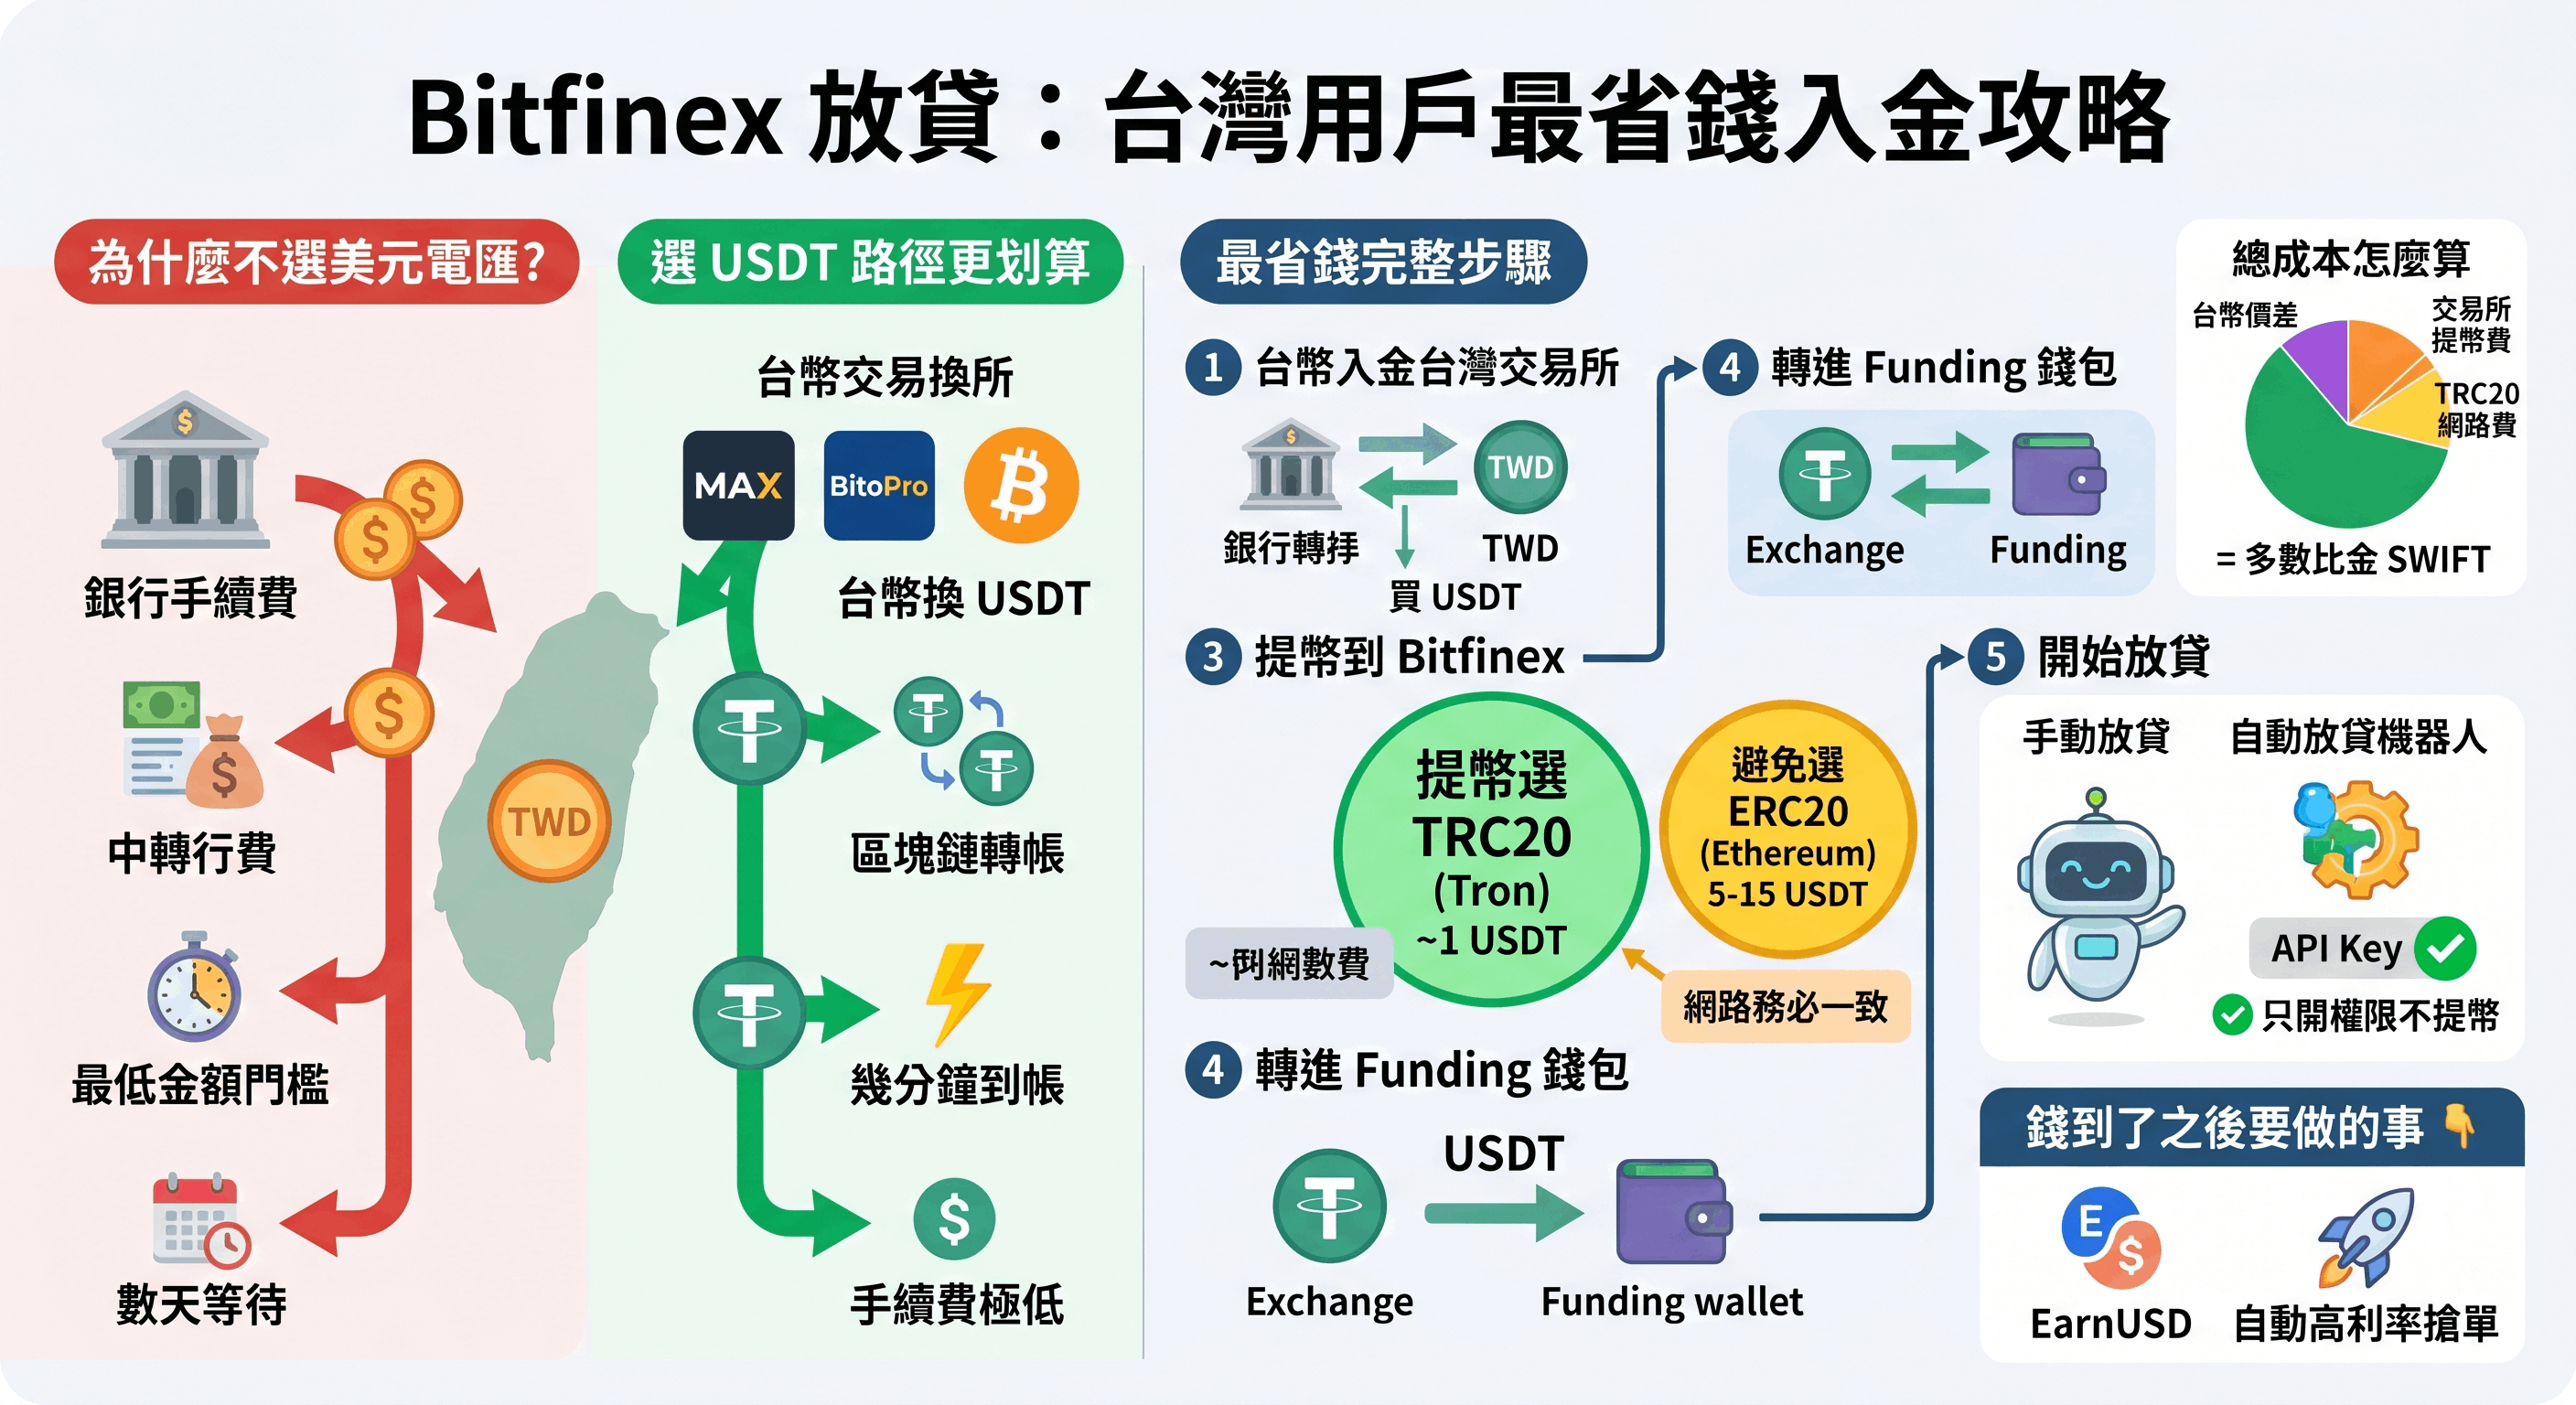
For Taiwan users, the cheapest way to fund Bitfinex lending isn't a USD wire — it's going through USDT. The flow: buy USDT with TWD on a Taiwan exchange (MAX, BitoPro, etc.) → withdraw to Bitfinex over the TRC20 network → move it into the Funding wallet and you can start lending. There are only two money-saving keys: (1) use USDT, not a USD SWIFT wire, and (2) withdraw over TRC20, not ERC20.
This 3-minute guide covers why to go via USDT, the cheapest step-by-step, why TRC20 beats ERC20, how to estimate the total cost, and what to do once the funds arrive.
Why not just wire USD?
Bitfinex does support fiat USD deposits, but for Taiwan users a USD SWIFT international wire is expensive and slow: bank wire fees, intermediary-bank fees, minimum-amount thresholds, and several days of waiting. By contrast, USDT (a stablecoin, 1 USDT ≈ 1 USD) moves on-chain — arriving in minutes for usually just a few dollars in fees, or less. For the vast majority of Taiwan retail users, the USDT path saves a substantial amount (for a full USD vs USDT comparison).
The cheapest step-by-step
- Deposit TWD to a Taiwan exchange: complete registration and KYC on a licensed Taiwan exchange like MAX or BitoPro, and deposit TWD via bank transfer.
- Buy USDT: buy the amount of USDT you plan to lend with your TWD.
- Withdraw to Bitfinex (choose TRC20): on the Taiwan exchange, select "Withdraw USDT," set the network to TRC20 (Tron), and paste your Bitfinex USDT deposit address.
- Move into the Funding wallet: USDT arriving at Bitfinex usually lands in the Exchange wallet; inside Bitfinex, transfer it to the Funding wallet — lending only recognizes the Funding wallet balance (this transfer is free).
- Start lending: once funds are in the Funding wallet, you can post funding offers manually or let a lending bot do it automatically.
The key saving: withdraw over TRC20, not ERC20
It's the same USDT, but different blockchain networks cost very differently:
| Network | Network fee (approx.) | Recommendation |
|---|---|---|
| TRC20 (Tron) | usually around 1 USDT | ✅ First choice, cheapest |
| ERC20 (Ethereum) | possibly 5-15 USDT (varies with Ethereum gas) | 🟡 Expensive, avoid |
The network must match on both ends: if you withdraw over TRC20 from the Taiwan exchange, Bitfinex's deposit address must also be TRC20. Choosing mismatched networks (e.g. TRC20 on one side, ERC20 on the other) can cause loss of funds — always align both ends and do a small test transfer first.
How to estimate the total cost
On the USDT + TRC20 path, your deposit cost is roughly three parts (illustrative):
- The TWD-to-USDT spread: buying USDT on a Taiwan exchange usually carries a small premium (about 0.1-0.5%).
- The Taiwan exchange's USDT withdrawal fee: depends on the exchange, usually within a few USDT.
- The TRC20 network fee: about 1 USDT.
Added up, depositing a few hundred to a few thousand dollars of USDT usually costs far less than the fixed fees of a single USD SWIFT wire — which is exactly why the USDT path is more economical for retail.
Once the funds arrive: what to do before lending
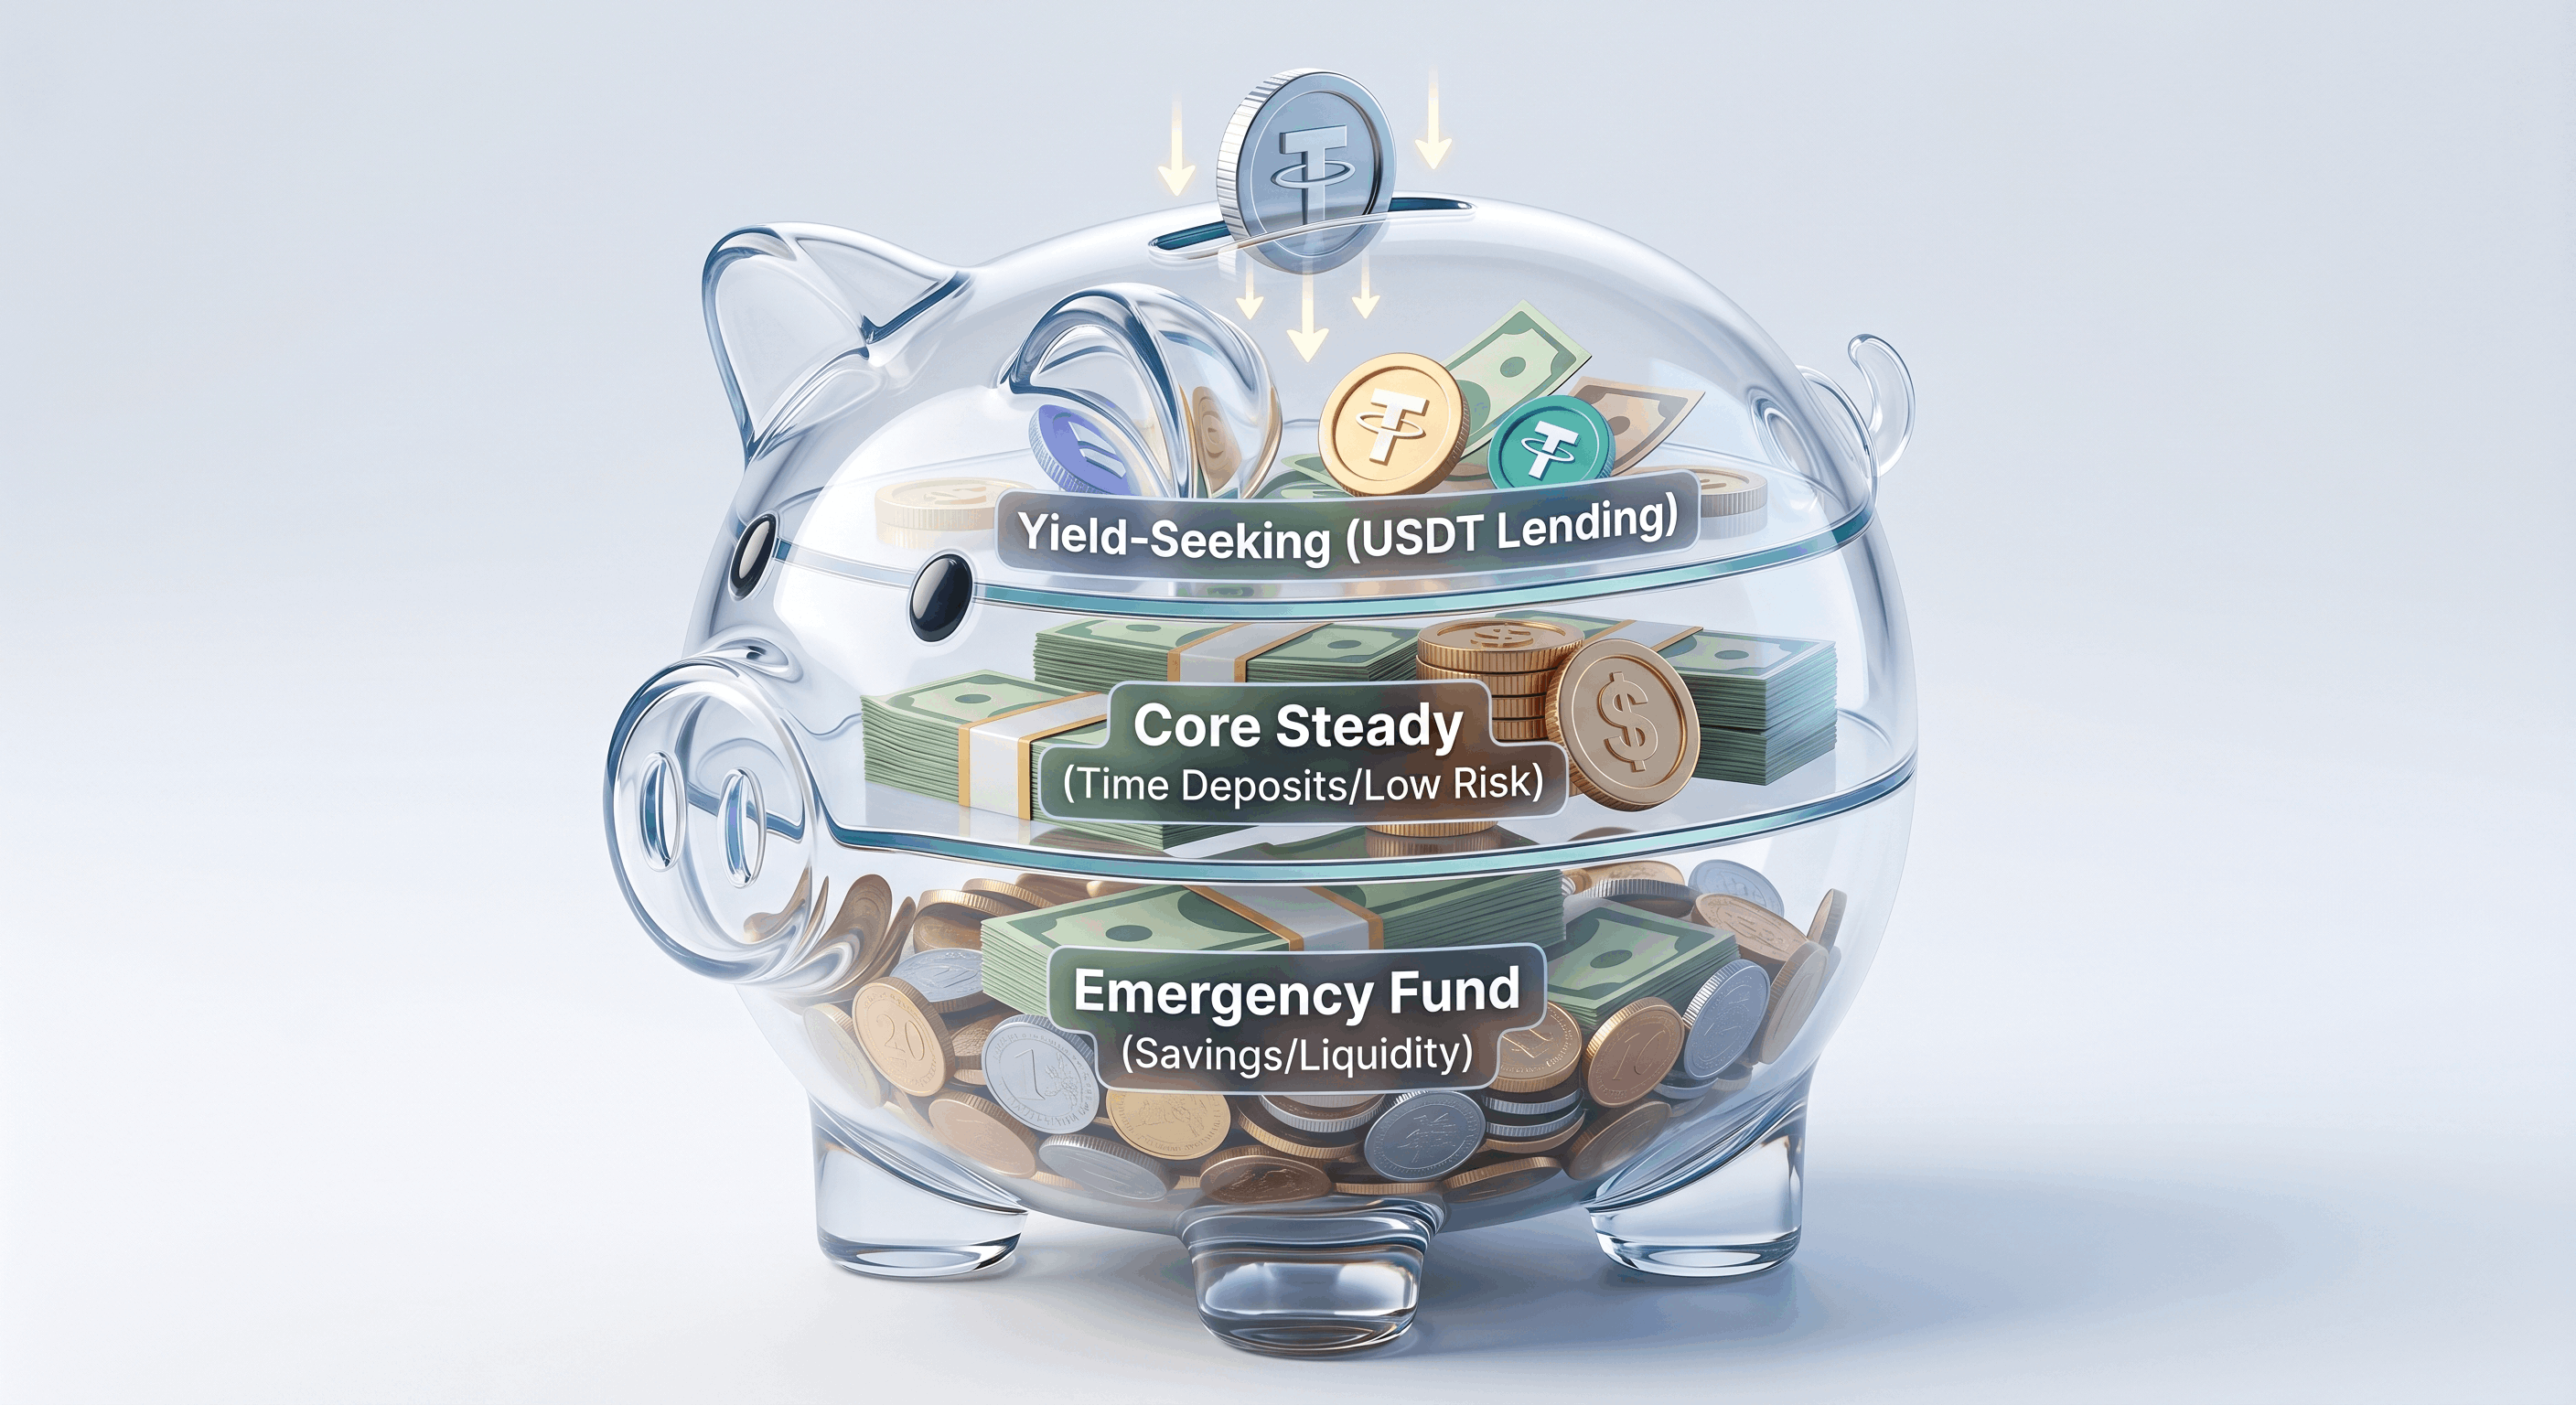
With USDT in your Bitfinex Funding wallet, you have two ways to lend:
- Lend manually: post funding offers yourself in the Bitfinex funding market. But rates are dynamic, and it's hard to stay near a good rate while keeping funds from sitting idle by hand.
- Use an automated lending bot: give the bot an API key with lending permissions only and no withdrawal permission (how to set this up safely is covered here), and it auto-posts offers, renews, and grabs high rates. Your funds stay in your own Bitfinex account the whole time — the bot can't touch your principal.
EarnUSD is exactly this kind of lending-permission-only-API bot, supporting USD / USDT / BTC, checking the market every 5 minutes plus 1-minute high-rate grabbing — set it up once after depositing and you don't have to watch the screen afterward.
Bottom line
For Taiwan users funding Bitfinex lending, the cheapest path is: buy USDT with TWD on MAX / BitoPro → withdraw over TRC20 to Bitfinex → move into the Funding wallet. The two money-saving keys are "use USDT, not a USD wire" and "withdraw over TRC20, not ERC20." Once funds arrive, give a lending-only API key to a bot and it starts earning interest automatically.